Valentine’s Gift Idea: Love Notes

Welcome to Joyful Stars January 2015 Blog Hop. This is our first blog hop in this new year and would love to share projects we have created showcasing products in CTMH Annual Inspirations Book and CTMH Seasonal Expressions Book (Dec 2014 – March 2015). Click here to see and download these inspiration books.

If you coming over from Nickie’s blog, then you are on the right track 🙂 Just in case you got lost, you can always go back to Joyce’s blog to see the full list of blog hop participants. For this month hop, I created a Valentine’s gift set inspired by one of these SOTM inspiration projects:

IMG_4443.JPG

IMG_4483.JPG

The envelope bag. I simply decorated the Designer Creations Paper Bag with stamped images from This Moment set (SOTM January) and

IMG_4484.JPG

The note cards. I cut 4″ x 5 1/2″ White Daisy, stamped on one side and I added piece of Heartstrings on the other side. Decorated with the extra side border that comes with the paper packet. Here are the previews:

IMG_4486.JPG

Side 1

IMG_4487.JPG

Side 2

Supplies you need for these project:

  • Paper Bag: Designer Creations – Slate (Z2036)
  • Paper: Heartstrings Paper Packet (X7193B)
  • Cardstock: White Daisy (1385)
  • Stamp sets: This Moment (SOTM January 2014 – S1501), True To Life (C1575)
  • Ink Pads: Whisper (Z2172), Hollyhock (Z2128), Crystal Blue (Z2117), Lagoon (Z2195)
  • Tools: My Acrylix Blocks (3″ x 3″, 2″ x 3 1/2″, 1″ x 3 1/2″), Sanding Kit (Z1294)
  •  Adhesives: 3D Foam Tape, Adhesive Runner
  • Gelly Roll Black Gel Pen (not available at CTMH)

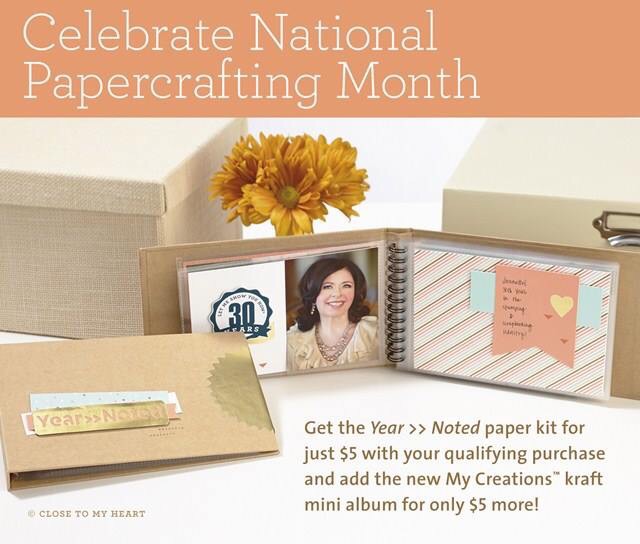
All supplies can be purchased at my CTMH Website and don’t forget that we have super awesome celebrating National Paper Crafting specials this month with your minimum qualifying order of $50!

Stamp Of The Month: This Moment

IMG_4444.JPG

Noted Kit

IMG_4440.JPG

THANK YOU so much for stopping by today! And your next hop is my fellow consultant, Crystal Davis, she has created something beautiful for you! Have a fun hopping and be inspired 🙂

==================================

I link up this project at:

Celebrating National Paper Crafting Month 2015

This January 2015 is a month full of specials from Close To My Heart celebrating National Paper Crafting Month. Check them out:

IMG_4440.JPG

During the month of January 2014, with your qualifying minimum order $50 (before shipping & tax) you can get:
–> the Papercrafting Month Special: Noted Paper Kit for only $5
–> Stamp Of The Month: This Moment for only $5 …. SO LOVE THIS STAMP SET! Just perfect to start your Valentine projects.

IMG_4444-0.JPG

Look at these beautiful inspirations of using this month SOTM:

IMG_4442.JPG

IMG_4443.JPG

And to see our recent Idea Book, December 2014 – March 2015 Seasonal Expressions 1, you can go here. To shop, you can go to go to my website to start shopping!

Not only that… When you host a party, you can get extra $30 more hostess reward!!! That means, if you make $350 – $449 sales at your party, you’ll earn $90 hostess reward (instead of $60) plus you can pick 1 item in the Idea Book for 50% off!!!

Earn more when your party order more…

IMG_4439.JPG

How about that for celebrating New Year and Paper Crafting Month?

Let’s celebrate the National Month Paper Crafting together with your crafting buddies by hosting a party! And I will be so glad to do it for you & your friends 🙂 Feel free to contact me at gulletthm at yahoo dot com at anytime to schedule your party either online or home gathering during this month.

Happy National Paper Crafting Month!

DIY Ribbon Bow Tie (video & tutorial)

Found this very cute & simple tutorial from CTMH Instagram (follow them @ctmhcorp) for the Make It Monday.  To see the original video, you can see it Here. You can use this cute bow tie as embellishment for your scrapbooking, cards, or even make a cute hairclip for little girls.

Supplies you’ll need (can get them all on website store):

  • Micro-tip Scissors
  • Mini Stapler
  • Micro Glue Dots
  • 4″ Striped ribbon
  • 1″ Shimmer trim

Steps:

  1. Fold both ends of ribbon toward the center, slightly overlap them.
  2. Staple it in the middle.
  3. Wrap the shimmer trim around the center, slightly puckering the ribbon in the middle.
  4. Use Micro Glue Dots to adhere the ends of the shimmer trim for added stability.

Happy making!

Scrapping Everyday Miracles – January 2015 Challenge

Welcoming the New Year, Scrapping Everyday Miracles has 3 new challenges on their blog for this month. The Design Team have created lots of inspirations for you to play along with us this month, check them out here. And every day, the team also will be sharing some tips, techniques, and encouraging posts on the blog.

You have until the end of January to play along with their challenges, read all the challenge rules and link up your project here.

The Layout Sketch Challenge

The Card Sketch Challenge

The Bible verse Theme Challenge – 2 Corinthian 5:17

“Therefore, if anyone is in Christ, the new creation has come: The old has gone, the new is here.”

And this month, I play along with the Card Sketch challenge. Here’s the card I created:

IMG_4368

I embossed the card based using my WRMK Evolution Advanced and CTMH Quatrefoil Embossing Folder. Using Watercolor brush, I pick some Hollyhock Exclusive ink from the ink pad lid and splatter it on the card randomly while I squeezed the water out. Have to be very careful to do this because you do not want the water to flow too much out of the brush and will soak your card.

Then I let the card based dry on the side. While it was drying, I cut a piece of White Daisy cardstock for the tag using my Silhouette Cameo and punch the bottom of the tag using Scallop Border Punch. Then tie up a piece of Baker’s twine I had in stash (I forgot the color’s name of it… sorry! But it is grey and white).

IMG_4369

For the flowers, on White Daisy cardstock, I stamped the flowers from The Big, The Bold and Extras set from Winnie & Walter using Hollyhock and Blush (retired, replaced with new pretty color, Pixie) Exclusive Ink Pads, then the leaves using Pear and Topiary Exclusive Ink Pads. Then I cut them using micro-tip scissors. I arranged them on the tag and glued them using glue pen. Then added some Sparkle Clear Assortment gems. From the same stamp set, I stamped the banner and sentiment using Black Exclusive ink pad. I added the banner on top of the flower cluster using 3D Foam Tape.

Before adding the tag on the card base, check to make sure the splatter ink is dry completely, if not, you can use any embossing heater to dry it, like I did using my Craft Heater. When it was completely dry, I added the border paper and arrow that I cut out from Heartstrings paper packet (lovely paper for this theme). Final step is to add the tag on the card. I glued the twine using a little bit of Liquid Glass (all-purpose liquid glue, dries clear, strong – best glue I ever used!) so it stays on the card, not flapping around. And my card is done 🙂

THANK YOU so much for visiting today!

SOUS Die Cut Challenge – Anything Christmas

There are many ways you can decorate or dress up a plain paper gift bag. And today I am sharing my project at Stuck On U Sketches, Die Cut Challenge – Anything Christmas. Check out the project there and how I created this gift bag.

You still have time to come and play along with us this week! Link up your projects here to share with us! I am looking forward to see them! Have a Merry Christmas!

Supplies:

Thanks for visiting!